PCB printing is one of the easiest ways to turn a circuit design into a physical board, whether you’re making a quick prototype or learning electronics at home. From toner transfer to UV methods, PCB printing helps you create functional boards without full factory production. This guide answers common questions about how PCB printing works, what tools you need, and when it’s better to choose professional manufacturing instead.
Part 1. What is PCB printing and how does it work?
PCB printing is the process of transferring a circuit design onto a copper board. It usually involves printing the layout onto special film or paper, then using heat, UV exposure, or chemical processes to transfer the pattern. The exposed copper is then etched away, leaving the circuit traces on the board.
Part 2. What is the difference between PCB printing and PCB manufacturing?
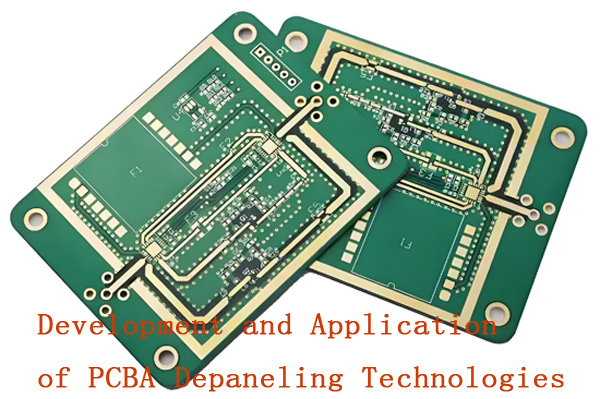
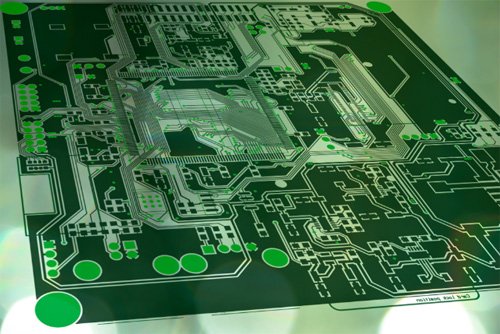
PCB printing refers to the early stage of transferring the circuit layout to a board, often for prototypes or DIY projects. PCB manufacturing includes drilling, plating, multilayer construction, solder mask, silkscreen, surface finishing, and full professional production. Printing is just one step; manufacturing is the entire process.
Part 3. Can I print a PCB at home?
Yes. DIY methods like toner transfer or UV photoresist allow basic PCB printing at home. You print the circuit on special paper or film, transfer it to a copper board, and etch the unwanted copper. Home results work for simple circuits but lack the precision and durability of factory-made PCBs.
Part 4. What materials are needed for DIY PCB printing?
Common materials include copper-clad boards, toner transfer paper or photoresist film, a laser printer, an iron or laminator, etching solution (like ferric chloride), and protective gear. Optional tools include a UV lamp, drill, mask film, and cleaning agents such as acetone or isopropyl alcohol.

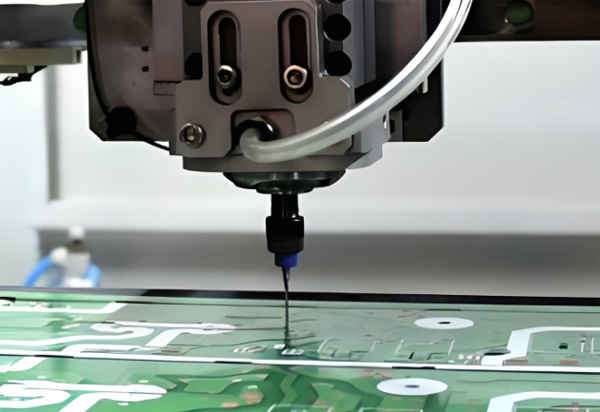
Part 5. What is a PCB printer and how does it function?
A PCB printer is a machine that prints circuit patterns directly onto copper boards using inkjet, laser, or UV-curable ink. Some models print resist, conductive ink, or even multilayer traces. They eliminate many manual steps and create fast prototypes but cost more than DIY methods.
Part 6. How does the toner transfer method for PCB printing work?
You print your PCB layout with a laser printer onto glossy or toner transfer paper. Then you press the paper onto a copper board with heat. The toner melts and sticks to the copper, forming the protective pattern. After cooling, the board is etched to remove exposed copper.
Part 7. What software is used to design and print PCBs?
Popular PCB design tools include KiCad, Eagle, Altium Designer, EasyEDA, and Fusion 360 Electronics. These programs create schematic diagrams and PCB layouts, then export files for printing or manufacturing. They support the formats needed for DIY transfer or professional fabrication.
Part 8. What file format is required for PCB printing?
Most PCB printers or fabrication workflows use Gerber files, the industry standard for copper layers, solder mask, and silkscreen. For DIY toner transfer, PDFs or high-resolution images of the copper layers are also common. Some printers accept proprietary formats depending on the model.
Part 9. How precise is PCB printing for fine-pitch components?
DIY PCB printing typically handles traces around 8–12 mil, which is enough for simple boards. High-quality equipment can go finer, but very small pitches (like 0.5 mm or BGA pads) usually require professional manufacturing. Precision depends on printer quality, film accuracy, and etching control.
Part 10. How do I print double-sided PCBs accurately?
You print both copper layers separately, align them using registration holes, and secure them before transferring. Careful alignment and taping are key. After transferring the patterns, you etch the board and later drill vias to connect the layers. Professional shops use automated alignment for better accuracy.
Part 11. FAQs about PCB Printing
What are common mistakes in PCB printing?
Common mistakes include misalignment, low-quality prints, weak toner transfer, over-etching, under-etching, and dirty copper surfaces. Poor layout spacing and wrong mirror settings also lead to faulty traces or shorts.
How do I print solder masks for DIY PCBs?
DIY solder masks use UV-curable ink or dry film. You apply the film, place a printed mask layer on top, expose it to UV light, and wash away the unexposed areas. This adds basic protection but isn’t as durable as factory masks.
How long does PCB printing take?
DIY PCB printing usually takes 1–3 hours, depending on cleaning, transferring, etching, and drilling. PCB printers can produce a board in minutes, while full fabrication from a factory takes days.
Is 3D printing used in PCB fabrication?
Yes. 3D printers can print conductive inks, substrates, and basic circuits for rapid prototyping. However, it’s not yet a replacement for traditional multilayer PCB manufacturing.